The fundamental buying protocol involves sending fiat money from a bank to an Exchange, then purchasing DC on that exchange, then sending the DC to your custodian cold (hard) wallet.
The most important question is: “Am I willing to lose this money?” If the answer is no, stop here, if yes, then read on.
Note: There are many Exchanges and they all function very similarly. However, caution is advised as some exchanges can hold your currency for a variety of reasons. So do your research! The recommended exchanges for Canada are: Crypto.com, Coinbase, or NDAX. For the purpose of this article, we will be using NDAX.
This article focuses on the purchasing of decentralized DC verses the Centralized Banking Digital Currency (CBDC). CBDC will not be used in Canada in accordance with their press releases. CBDC maintains that banks retain centralized control, and we don’t want that.
Let us talk about wallets, there are hot and cold. The most important fact is while using a hot wallet you do not retain custodian ownership of your currencies (good for exploring, trading and small value operations).
There are many types of cold wallets. You will need to do your research to find one that suits your needs. For the purpose of this article, we will be using the Ledger Nano S+ cold wallet. The following CoinWeb 2025 chart provides some feedback on the different types available. It is recommended that you purchase your chosen wallet before going through the buying process.
Quick Look: Best Cold Wallets
Cold Wallet Ledger Nano X Trezor Model T Ledger Nano S Ledger
StaxNgrave Zero Keystone Pro Arculus D’Cent Ranking 1st 2nd 3rd 4th 5th 6th 7th 8th Best for All around best Best quality of life Best value Best for advanced features Best for crypto experts Best for security Best for ease of use Best for Web3 features Price $149 $179 $79 $279 $398 $129 $99 $109 Number of crypto 5,000+ 8,000+ 5,000+ 5,000+ 1,500+ 5,500+ 40+ 3,000+ Visit Nano X Model T Nano S Stax Ngrave Keystone Arculus D’Cent Let us start, what will you need: You require a PC or MAC, a smartphone, and a cold (hard) wallet. The PC or MAC for the software you will load (ensure you get the right software download for the one you are using). The smartphone will be required for 2 -factor authentication and identification. The cold wallet for storage of your DCs.
Digital Currency buying protocol Process:
As a reminder, we are using NDAX and LEDGER for our purchasing of XRP.The steps are as follows:
- Check that your bank can do e-transfer (bill payment);
Using the following to establish you bill payee:
Name: NDAX PAYMENT
Email: payments@ndax.io
Note: there is a requirement for a memo field to be filled using the NDAX receive code (provided on account activation, can be tricky to find if you have never used the NDAX website)- Create an NDAX.IO account for yourself. Go to the website: https://ndax.io/
Use SIGN-UP and follow the instructions including KYC (Know Your Client) protocols. Advice: as you go through the KYC questions, be careful of your choices, if you don’t make enough $, of identify that you are not comfortable with risk or if you have no experience, they may not grant you an account or can delay due to verification. If you need help, join or reach out to those in the alliance press social site. Many have gone through this process and can help. To find your memo code: go to the WALLET icon, select CANADIAN DOLLAR, scroll down the right-side window until you see the green RECIEVE icon. Select the RECIEVE icon, then choose the E-Transfer function, you will now see a letter/number sequence this is your memo code. Copy it and paste into the e-transfer bank memo field.- If you have not done so already, purchase the Nano S Plus cold wallet from: https://www.ledger.com/ Recommend the “Ledger Nano S Plus” – further to this, a more cost effective method is to purchase the 3 family pack. Perhaps you have a group buy or if you want to have sperate family accounts or if you want a backup.
There is an alternative method which is using LOBSTR for XLM (Only) as a hot wallet (but this is beyond the focus of this article). Order the wallet as soon as you can!- Once you receive your cold wallet, then you are ready to complete the setup of your devices. You have checked and your bank can do e-transfers, you have created the NDAX account and have access to buy and sell crypto, and third, you have gone through the setup process of the Leger Nano S plus. This can take some time and patience as there are important steps in the process.
- The buying process: start by sending $ via your bank e-transfer (payee payments@ndax.io and memo field with your identifier from your NDAX account) to the NDAX exchange. Once $ are deposited in NDAX, it will show on your DASHBOARD. On the right side of your dashboard, there are BUY and SELL icons. Above the BUY icon there is a selection pulldown box, where you can find the crypto list. In this case you would select XRP. Next you will choose how much you wish to spend to buy XRP in the AMOUNT box. Once completed select the Buy icon. There will be a couple of confirmation screens to go through. When completed the currency will be shown in the WALLET tab (left side of screen) under XRP. You can repeat this for whatever coins you wish to purchase. This completes the purchasing on the exchange. It is not recommended to leave large amounts of currency on an exchange.
- Now that you have XRP coins on the exchange, you should move them to your custody. This is completed by sending the XRP to your XRP blockchain address. To do this you will need to have the Ledger Live application open and your Ledger S Plus plugged into your PC or MAC. Using the account page on Ledger Live, add an XRP account (if you have not done so). Follow the instructions to create. Once created you will see the XRP account displayed on your account page. You will notice that the account only has two options (buy or receive). In this case you will receive XRP from the exchange. Select the RECEIVE icon and follow the instructions. When you get to the address instruction, ensure you copy the address (using copy and paste). Finish checking the address and you are finished for now in the Ledger app.
- With the XRP Ledger address copied in the computer memory, switch to the NDAX webpage and go to the WALLET icon and select it. Under the Canadian Dollar box, you should see the XRP box. Select it. Move to the right and scroll down until you see the RECEIVE and SEND icons. Select the SEND icon. Select the RIPPLE box. You will now fill out the WITHDRAWAL information. Start with the address you copied and paste it into the XRP WALLET ADDRESS, ensure it is full and correct. Next select NO TAG (not required if sending to a personal wallet). Next select 100% of XRP to send (unless you choice otherwise). The last step is to select the (I CONFIRM…) box. Now you are ready to send by selecting the SEND icon. Once you select SEND you will need to go through 2 authentication processes, the first being the 2-factor authentication from your phone and finally the last one being a e-mail with an action required confirming withdrawal. This completes the process of sending the XRP to your blockchain.
The last step is to ensure that it gets registered in Ledger Live. Once the processing has completed you will see the XRP on the PORTFOLIO page or accounts page. Congrats you have custody of your money!
Deno
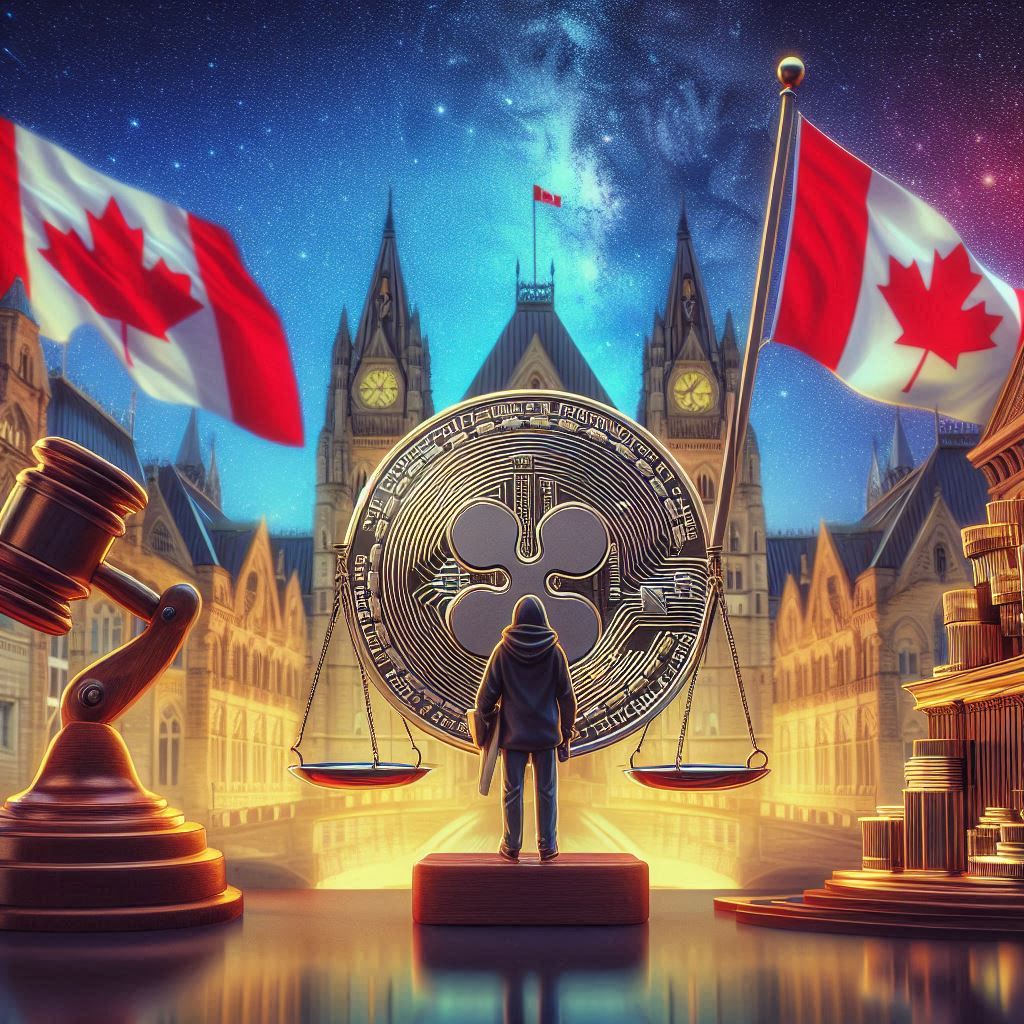
Digital Currency (DC) – The how to buy and take custody guide in Canada!
 The last step is to ensure that it gets registered in Ledger Live. Once the processing has completed you will see the XRP on the PORTFOLIO page or accounts page. Congrats you have custody of your money!
Related Post


Leave feedback about this